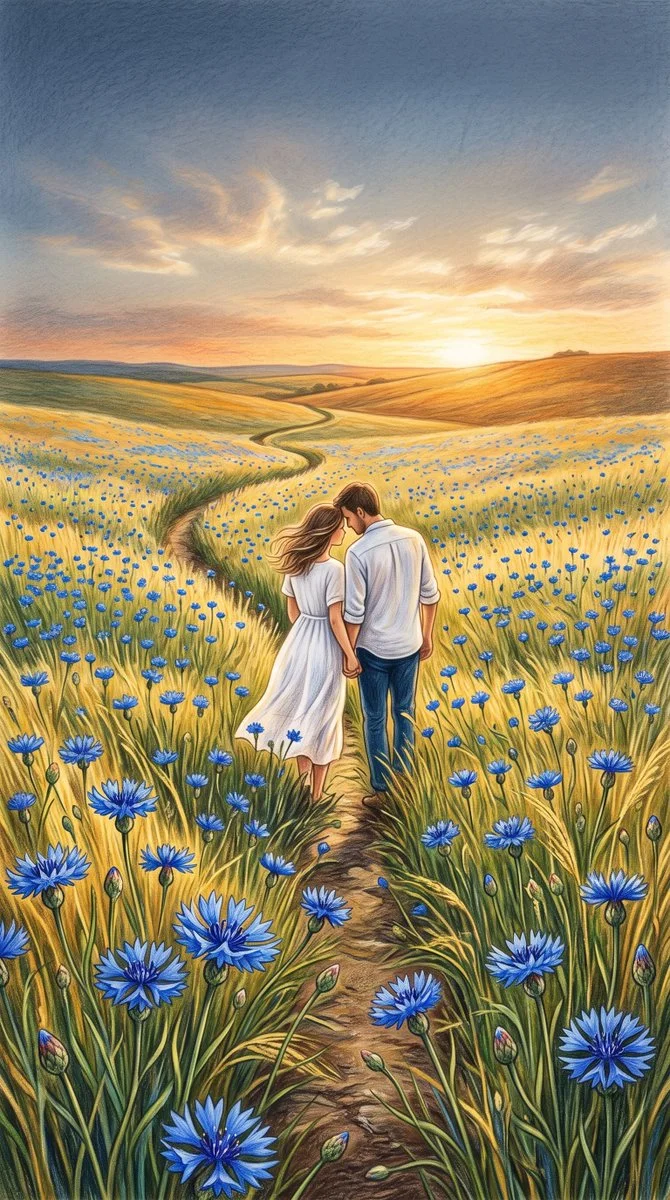
Colored Pencil Cornflower Field Couple. Match the eye line and direction of light between subjects.
History
Your first questions, answered
What will I create? Bring a missing friend into a favorite photograph by giving Qwen4Max two different jobs: preserve the first picture as the setting, and use the second picture to guide the added person. A short placement note connects those references.
What is the first step? Choose Image to Image, place the base scene in Reference 1 and the person portrait in Reference 2, then describe the intended position. Review the two previews and current quote before generating.
What makes a useful input? Put the photograph you are completing in the first slot. The second slot takes a single portrait of the person joining it. Both previews should be visible before you generate; this page is arranged for exactly those two inputs.
Is there a free way to begin? Start by preparing the image and brief. Generation follows the credit quote shown for your selected model and settings; any free-credit eligibility or current promotion is shown by the account or checkout flow.
Where is the price shown? The generator calculates the current credit requirement from the selected model and settings. Review that value before submitting; the page heading is not a separate fixed-price offer.
How do I follow the wait? History shows the task’s current status after you submit. Completion depends on the active model, chosen output and queue; return to the existing task instead of repeatedly submitting the same idea.
Bring a missing friend into a favorite photograph by giving Qwen4Max two different jobs: preserve the first picture as the setting, and use the second picture to guide the added person. A short placement note connects those references. The generator keeps the image, description and available model settings together so you can build a focused first version.
These images come from this site’s published case library. Use their composition, lighting and styling as creative references; they are not paired before-and-after tests of this tool.
From upload to reviewed result
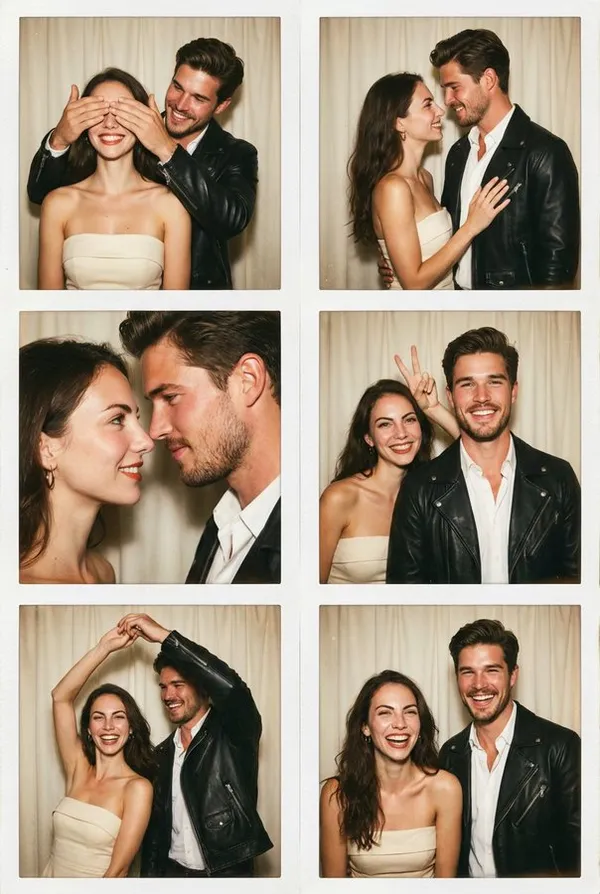
Vintage Photo Booth Collage. Specify who stands where and keep each face distinct.
1
Upload the base and references
Start with the photo you want to keep as your scene: a group shot, a room, a street. Then upload one separate person reference. Pick references with clear, evenly lit faces and similar angles where possible. Mention in the prompt which reference belongs to which person.
2
Write the placement direction
In the editable prompt, name who to add, where they stand, how large they appear, and how the light should fall on them. Keep the original scene details you want retained. Use the available model controls for the generation setup, then adjust wording rather than adding unsupported settings.
3
Check the quote and review
The interface shows a live credit quote before you generate. Check the displayed account or guest eligibility, run the job only when an available model and sufficient eligible credits are confirmed, and open History to compare attempts. Judge the result on placement, scale and lighting first, then on how well the scene holds together.
What to look for in the image
Check whether the added face resembles its portrait, whether shoulder height fits nearby people, and whether feet or seated legs meet the scene naturally. Keep the original guests, furniture, camera viewpoint and background geometry in view while judging the change.
Where this helps
Romantic Eclipse Silhouette Couple Illustration. Use the horizon and shadows to establish a shared scene.
Recreate a missed group photo
One person left early. Use a clear portrait reference and add them back into the group at the correct side and scale, with notes about the afternoon light.
Build a family holiday scene
Place one person reference into a coastal base photo, describe a seated or standing pose, and keep the shoreline and weather unchanged.
Draft a team page image
Add a fictional colleague into an office shot for a concept layout, then review placement and lighting before deciding whether to reshoot.
Before you generate
3x3 Photo Booth Style Collage. Check the spacing between people and avoid overlapping hands.
Put the photograph you are completing in the first slot. The second slot takes a single portrait of the person joining it. Both previews should be visible before you generate; this page is arranged for exactly those two inputs.
Use references with front-facing faces and no strong filters.
Name each person in the prompt so multiple references do not get confused.
Describe the light in the base photo before describing the person.
Turn the idea into a clear brief
Before generating, choose one visible change to judge. For add people to photo, explicitly retain the original guests, furniture, camera viewpoint and background geometry. Keep the first brief focused so a second attempt can adjust the one detail that needs attention.
Use the first photo as the complete scene. Place the adult from the second photo beside the seated guest in the cream shirt. Keep the existing guests, camera position and table setting, matching the afternoon light and perspective.
Check whether the added face resembles its portrait, whether shoulder height fits nearby people, and whether feet or seated legs meet the scene naturally. Keep a useful version in History, then change one part of the brief rather than replacing the photo, style and settings at the same time.
Before you run another image
Treat the displayed quote as part of choosing your image, alongside the model and output settings. If you change a setting, read the updated credit requirement before submitting. Use the site’s Pricing page for available purchase options and check any free-credit offer in the account or checkout flow.
A task can spend time waiting and processing before its result appears in History. The model, output choices and current demand influence that wait. Open the existing task to check progress instead of assuming that a slow response requires a duplicate request. Review the result, keep the original reference, and make the next brief more specific if another version is useful.
Add people to photo questions
How do I add people to a photo with Qwen4Max?
Upload a base or group photo, add one separate person reference, and write a prompt naming who to add and where. Check the live credit quote, sign in, generate, then review the job in History.
What kind of base photo and references work best?
Choose one base photo with visible space for the new person and one separate reference photo of that person. Use a clear face, a similar angle to the base and normal lighting. Describe where that person should appear in the base photo.
How specific should my direction be?
Mention who is added, the position, relative scale and light direction, plus what should stay unchanged. Use the editable prompt and model controls the generator provides. Reword rather than inventing settings that are not on screen.
Will the added person match the original exactly?
No. Results are approximate. Do not expect pixel-perfect compositing or guaranteed facial consistency. Treat each generation as a draft and review placement, scale and lighting in History before using it.
How do credits and accounts work here?
Generation requires an available model, a current credit quote and eligible credits. Follow the account or guest eligibility shown by the site; sign in if the selected workflow requires it. The interface displays a live credit quote before a job runs, so you see the cost for your setup first.
What should I change for the next attempt?
Start from the same photo and pick one visible detail to improve. Check whether the added face resembles its portrait, whether shoulder height fits nearby people, and whether feet or seated legs meet the scene naturally. Adjust that detail in the brief, keeping the remaining settings steady so the comparison stays useful.