

A focused media workflow
AI Clothes Changer — Describe or Upload an Outfit
Clothes Changer
History
Use the AI clothes changer in two ways: describe an outfit for a person photo, or provide a separate garment photo for dedicated virtual try-on. The person and garment uploads have distinct roles. Choose the workflow that matches whether you have an idea or a specific item.
Prepare your sourcePublished case inspiration
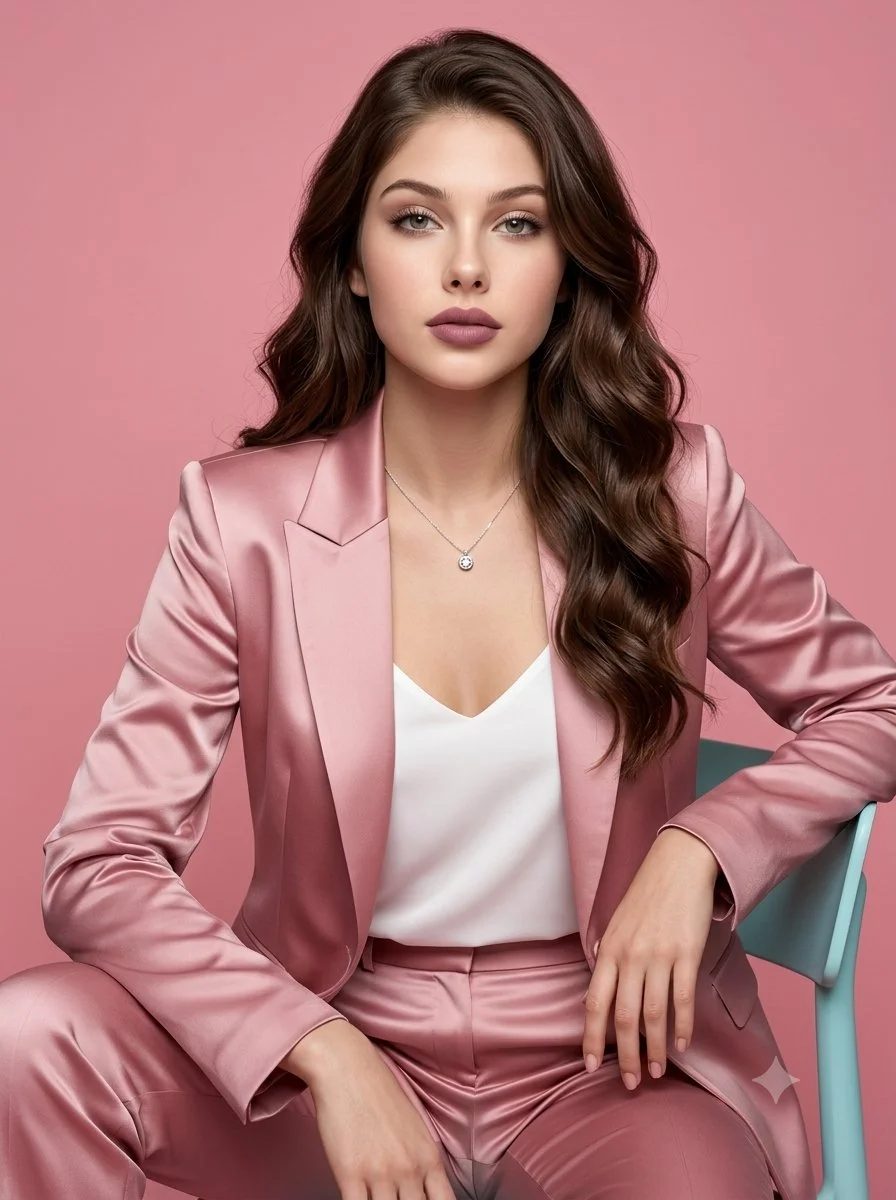
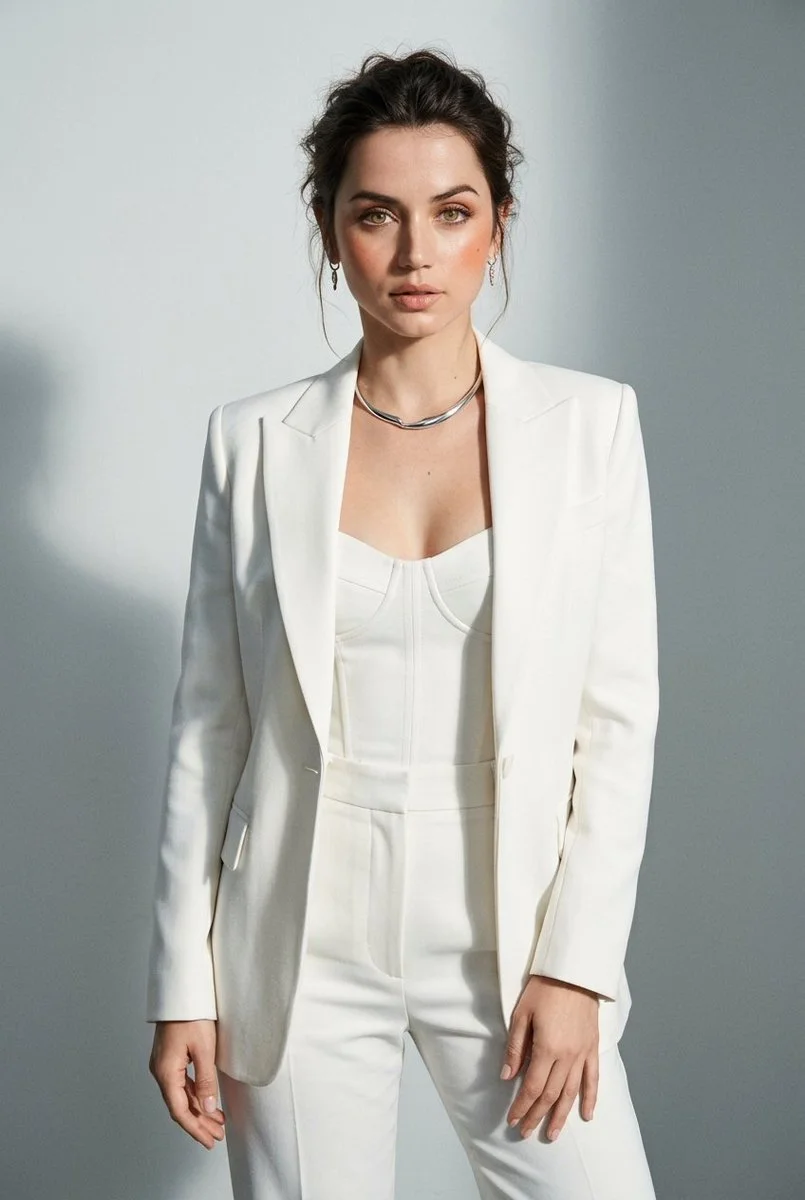
These images come from this site’s published case library. Use their composition, lighting and styling as creative references; they are not paired before-and-after tests of this tool.
How to start
- Choose Describe clothing for a text brief, or Use a garment photo for a specific item. Upload a clear person photo with the relevant body area visible.
- In description mode, name color, fabric and cut. In garment mode, upload the item separately and choose its category, photo type and quality mode.
- Review the quote for the current workflow and settings. Generate only when enabled, then inspect the result before trying another outfit.
Prepare the source
Keep arms away from the clothing when possible. For a garment reference, use a front view with unobstructed sleeves and hem; a flat lay or model photo can be selected explicitly. Upload one person and one garment, not a collage of several outfits.
Choose a useful direction
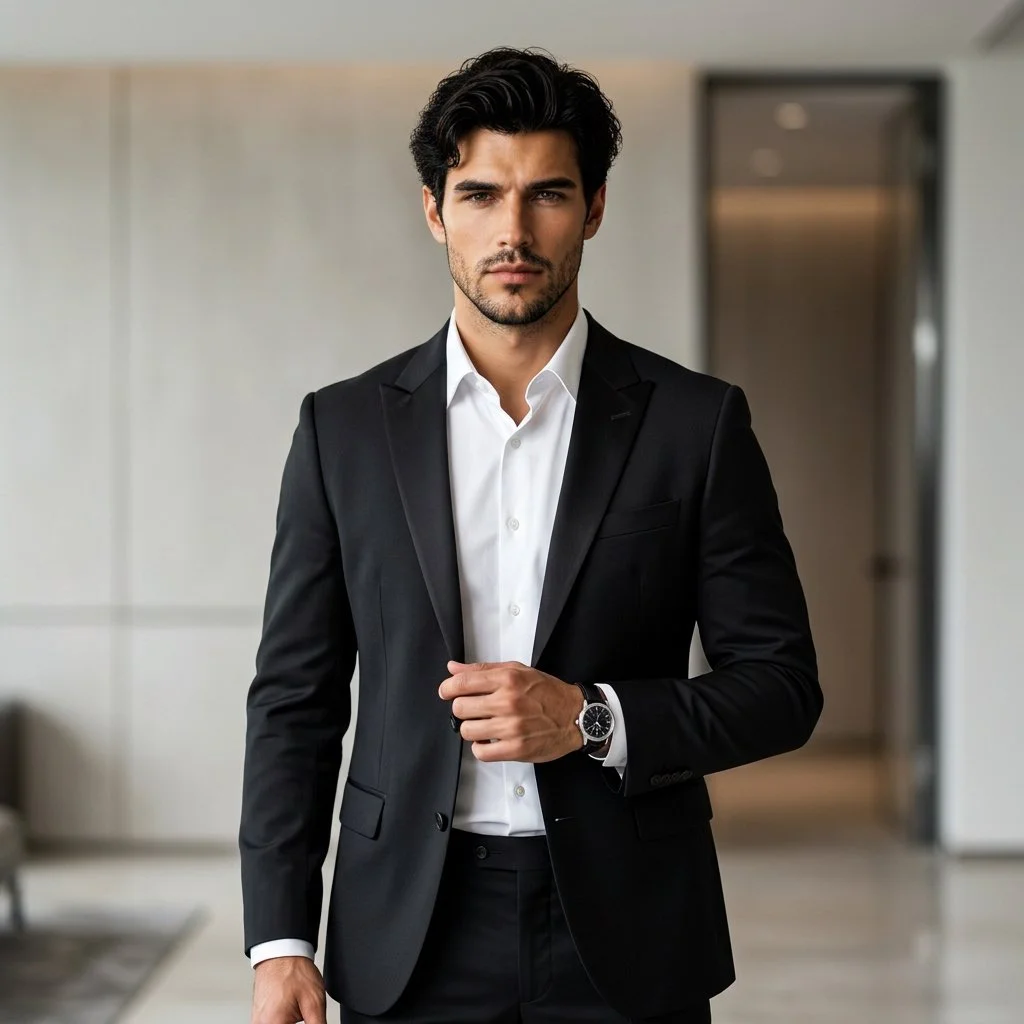
A written description is useful for imagined color or styling directions. Dedicated try-on is useful when the shape and fabric of an existing garment matter. These are different contracts: a general edit is not a substitute for a garment-reference request.
Inspect the result
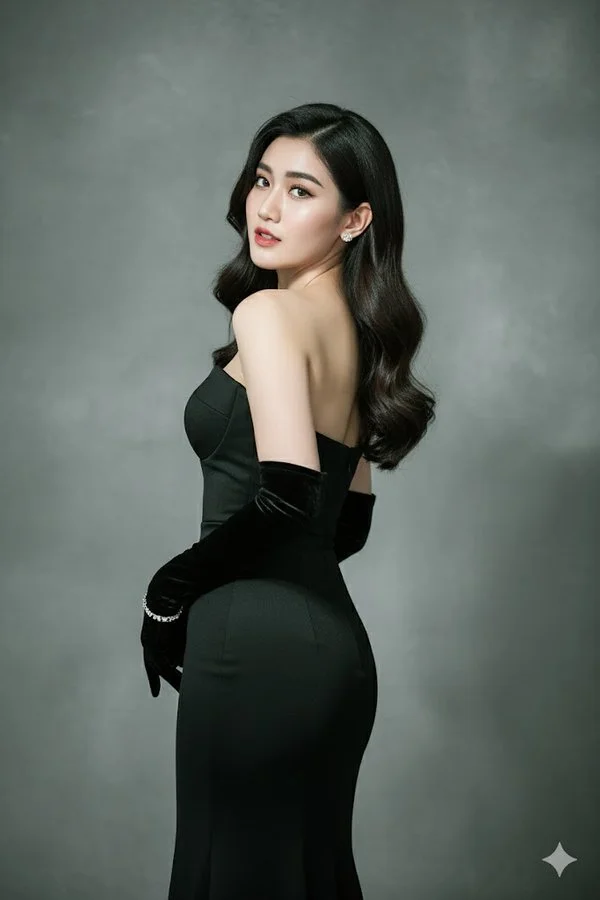
Check collar placement, sleeve length, buttons, hands and the boundary between garment and skin. Compare folds with the pose and light. The image is a styling visualization, not a size measurement, purchase recommendation or guarantee of physical fit.
Availability and credits
Only enabled models with approved contracts and prices can generate. The current workflow shows its availability and credit quote before submission. Changing settings requires a new quote. No fixed free allowance or processing time is promised.
The guide illustrations explain preparation and review. They are not results from a paid quality test. Your own submitted jobs remain available in History.
Questions before you start
What does clothes changer AI need?
Description mode needs a person photo and instructions. Garment mode needs a person photo and a separate garment photo; neither role is optional.
Which garment settings are supported?
Dedicated try-on offers automatic, tops, bottoms or one-piece categories, model or flat-lay photo types, and performance, balanced or quality modes. It produces one sample per submission.
What does dedicated garment mode require?
Dedicated try-on uses a compatible garment model and a live quote for the selected settings. Select a supported option, provide separate person and garment photos, and review the quote before submitting.
qwen4max.com · Updated
What's new on this page
- — Introduced this image workflow on Qwen4Max with preparation guidance, published case references and related tools.